
Embroidery, screen printing, transfer: which marking for your logo?
A badly applied logo shows from across the yard — and it shows most after the fifteenth wash, when the edges start flaking and the brand blue has turned grey. The marking technique looks like a secondary decision at order time. It is what your teams will look like for the next two years.
The short version
- Embroidery is the most durable and the most premium, but it dislikes large solid areas and gradients.
- Screen printing becomes unbeatable at volume on flat areas with a limited number of colours.
- Digital transfer handles photographs and short runs, at the cost of a shorter life.
- On PPE, no marking may cover a retroreflective band or be applied with non-compatible thread or film.
Four techniques, four cost logics
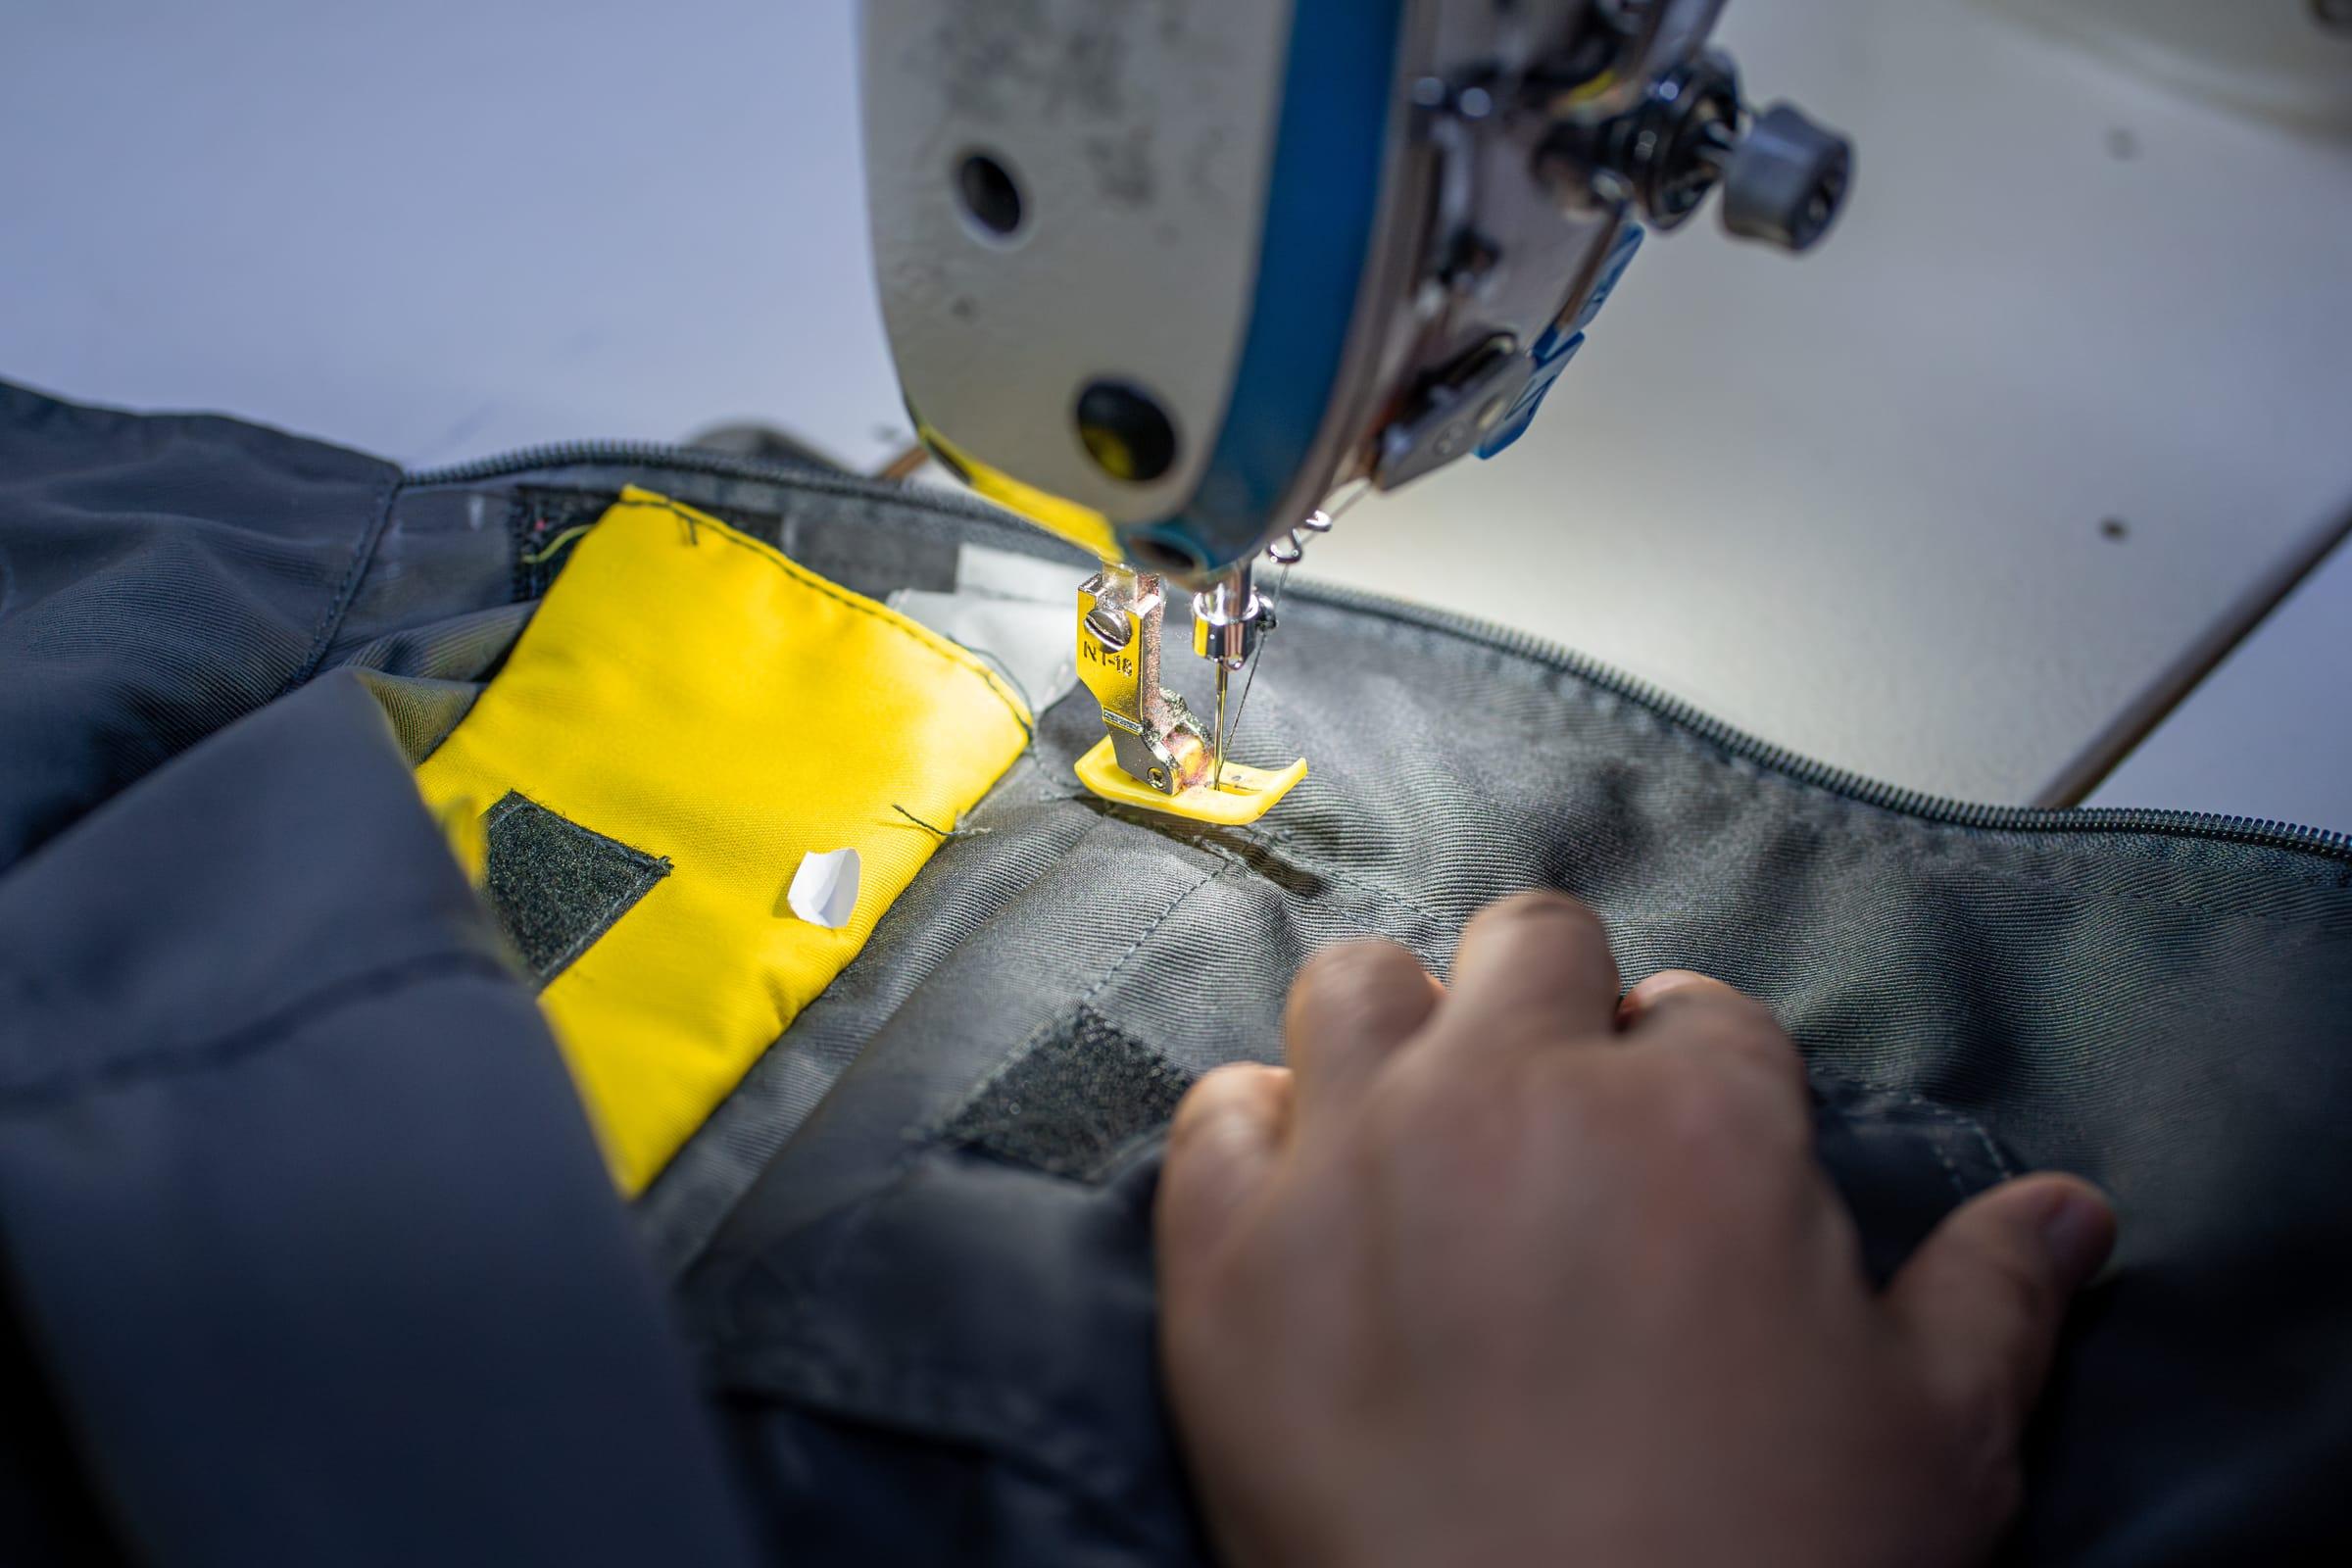
There is no "best" marking technique, only techniques suited to a given artwork, fabric and volume. Embroidery is priced by stitch count: a dense logo costs more, but the unit price barely moves between 50 and 500 pieces. Screen printing needs one screen per colour — a fixed cost amortised across the run, which makes it expensive in small quantities and very competitive beyond a few hundred pieces.
| Technique | Strength | Limitation | Where it shines |
|---|---|---|---|
| Embroidery | Maximum durability, premium textured finish | Cost tied to density; poor at very small sizes; stiffens the area | Chest logos, polos, jackets, front-of-house outfits |
| Screen printing | Very low unit cost at volume, bold opaque colours | One screen per colour; gradients are hard; flat areas only | Large runs, t-shirt backs, full-width markings |
| Digital transfer | Photographs, gradients, short runs with no setup cost | Lower wash resistance; film handfeel is more noticeable | Small quantities, complex artwork, events |
| Sewn or hook-and-loop patch | Interchangeable, ideal when the role changes | Extra cost per piece; sits slightly proud of the garment | Ranks, names, rotating contractors, security staff |
What your logo file needs to contain
Half of all customisation delays come not from the workshop but from the file supplied. A logo exported from a slide deck, a 400-pixel JPEG lifted off the website, a PDF where the text has not been outlined: each of these triggers a round trip that costs several days.
- A vector file (.ai, .eps, outlined .pdf or .svg) — the only format that scales without loss.
- Exact colour references, ideally Pantone, so your brand red stays yours.
- A single-colour version of the logo: essential on dark garments or for fine embroidery.
- The intended size in centimetres and the precise placement (left chest, back, sleeve).
- For embroidery only: allow for a digitising pass, i.e. translating the logo into a needle path. It is paid once and kept on file.
Marking PPE: the rules you cannot break
This is where a botched customisation stops being a matter of taste. A protective garment is certified as it was tested. Any later intervention can call that certification into question, and the responsibility then falls on whoever ordered the marking.
- Never cover a retroreflective band: EN ISO 20471 sets minimum areas of fluorescent and retroreflective material, and a logo placed on top eats into them.
- On flame-retardant garments, use only certified compatible threads and films: a standard polyester transfer can melt and make a burn worse.
- Respect the placements the manufacturer has designed for, having kept those zones clear on purpose.
- Keep the garment's instructions and declaration of conformity: they specify what the marking may and may not touch.
- Have the logo placement approved by the manufacturer in writing before launch. Five minutes of email against a whole production run.
If your issue includes certified garments, our guide to PPE and standards sets out what each marking covers — literally and figuratively. And for the specific case of high visibility, see the article on construction sites.
Where to place the logo, in practice
Left chest remains the default: visible face to face, discreet, compatible with almost every garment. The back, in large format, serves identification at distance — useful for a contractor working on a client's site, or a team that has to be spotted across a large area. The sleeve suits secondary markings: department name, certification, flag.
The right placement is the one still visible while the person is working — not the one that looks good when they pose for the photo.
One detail that is often missed: if your teams wear a vest or a harness over the outfit, the chest logo disappears. In that case, mark the outer garment instead, or duplicate it on the sleeve. Always check placement on a garment dressed as it will be on site, not on a hanger.
How much time should you allow?
Customisation is added to the production lead time, it is not absorbed by it. Allow one file-approval step, one proof or sample step — always ask for a reference piece before the run is launched — then production itself. On any serious order, the sample is what saves time: it reveals on one garment what an email thread would only reveal after three hundred.
Frequently asked questions about workwear marking
- Does embroidery damage the garment?
- Done properly, no: the needle passes through the fabric but the backing placed underneath spreads the tension. A very dense design on a light or stretch fabric can, however, create a stiff, uncomfortable patch. On those materials, a transfer or a patch is often the better answer.
- How many washes does a marking survive?
- Embroidery generally outlives the garment. A good screen print easily lasts the life of a work outfit if it is washed at moderate temperature and dried without excessive heat. Digital transfer is the most sensitive: it is high-temperature tumble drying, more than washing, that wears it out.
- Can small quantities be customised?
- Yes, but not with every technique at the same cost. Below a few dozen pieces, digital transfer and embroidery stay accessible, while screen printing struggles to spread its screen setup costs. State your volumes in the quote request: that is what drives the recommendation.
- Can we change the logo without replacing every garment?
- That is exactly what a removable hook-and-loop patch is for. If a visual identity change is plausible in the medium term — a merger, a new brand, a contractor on a renewable contract — it is far better to plan for it at design stage than to unpick three hundred jackets.
Going further
Send us your logo: we will tell you straight which technique will serve it best — and which one would let it down.
Response within 48 hours, no obligation
Related articles
 Local manufacturing
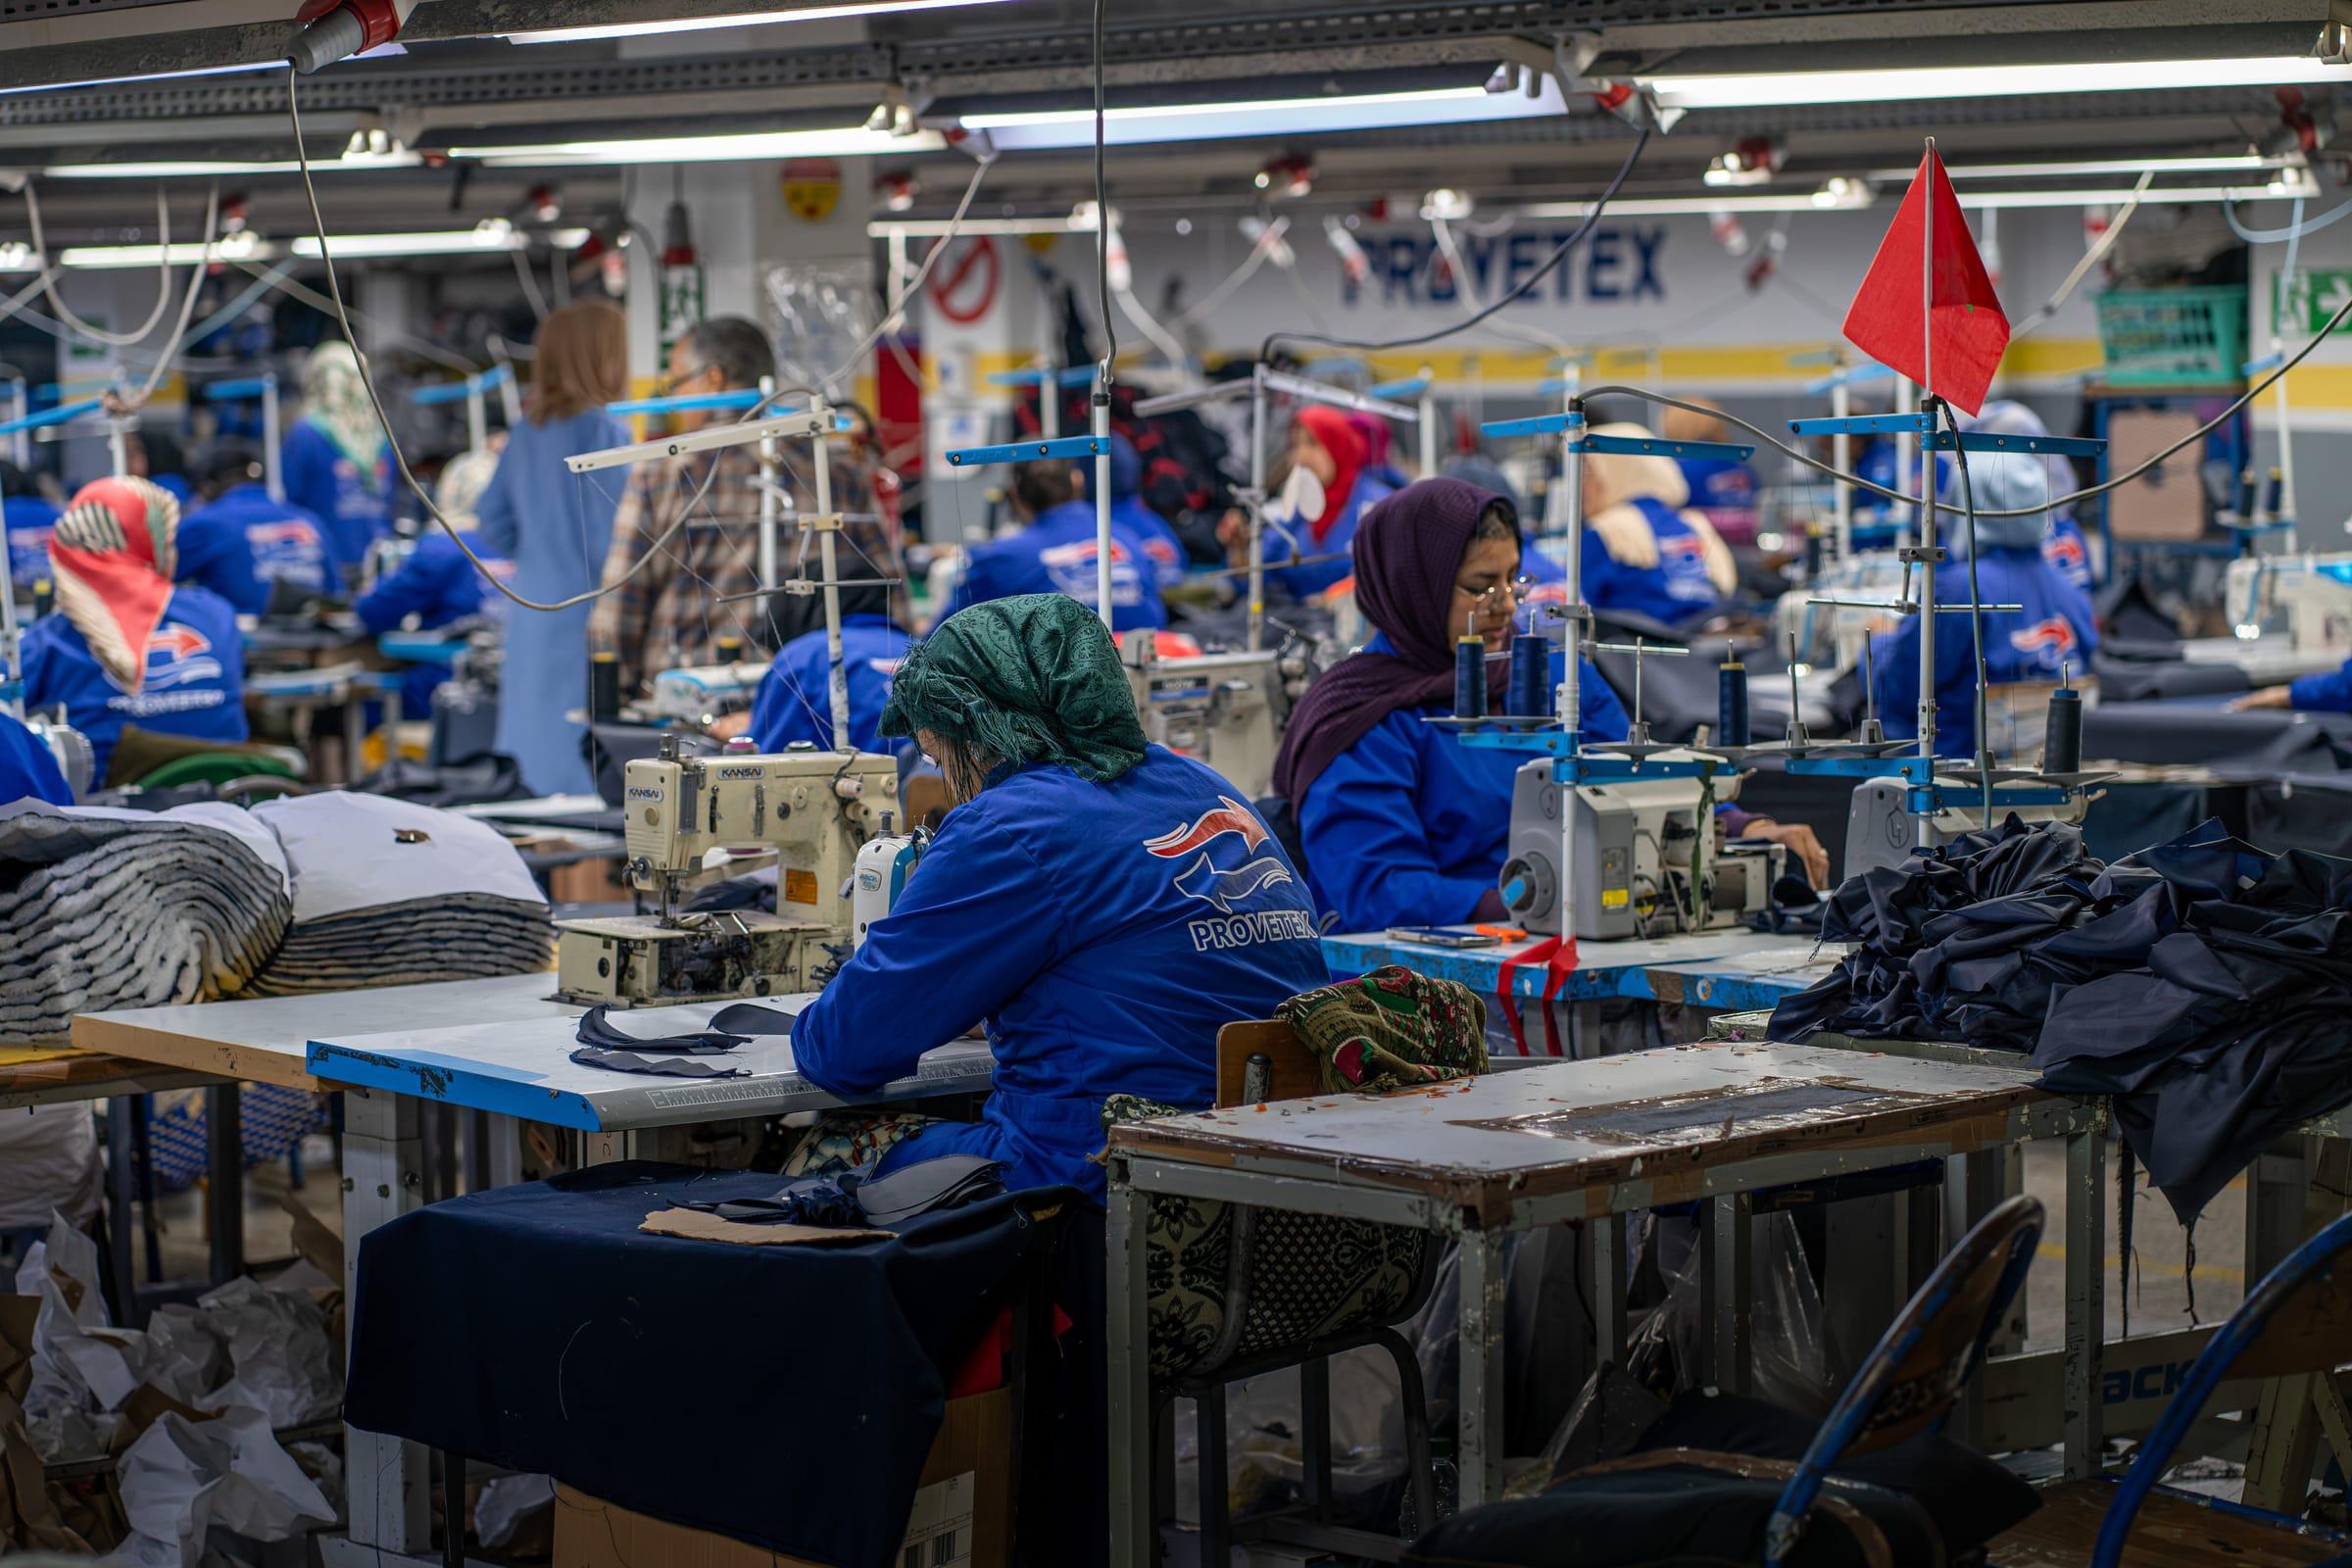
Why choose a Moroccan manufacturer over importing
Lead times, customisation, responsiveness, quality control and total cost: the concrete case for local manufacturing over importing.
Read the article Method & logistics
Kitting out 200 people without a single wrong size: the method that works
Fitting day, size set, issue register: the full method for ordering workwear that actually fits your teams.
Read the article Hospitality & events
Hospitality and event uniforms: elegance and practicality
Elegant, functional uniforms for hotels, restaurants and events. Customisation and Moroccan manufacturing with PROVETEX.
Read the article